Last updated November 21, 2026
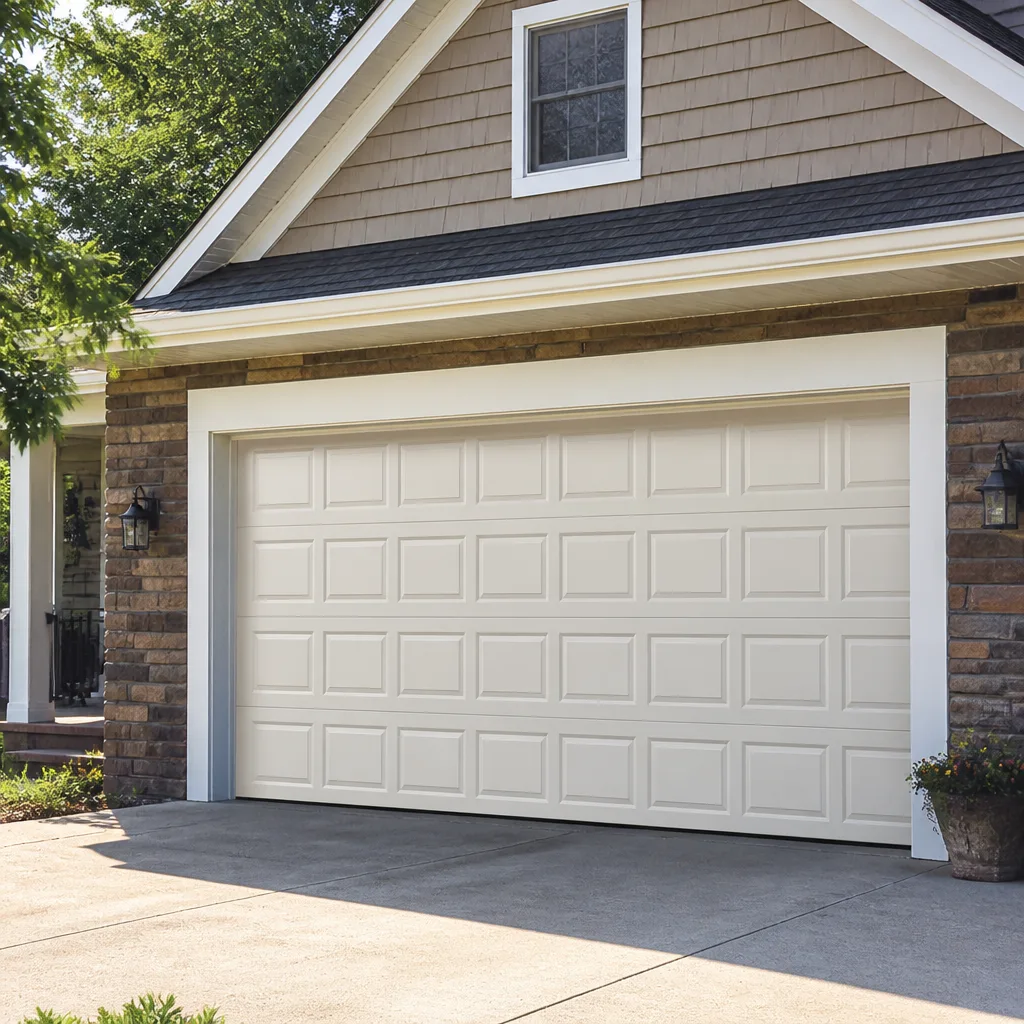 Raised-panel steel
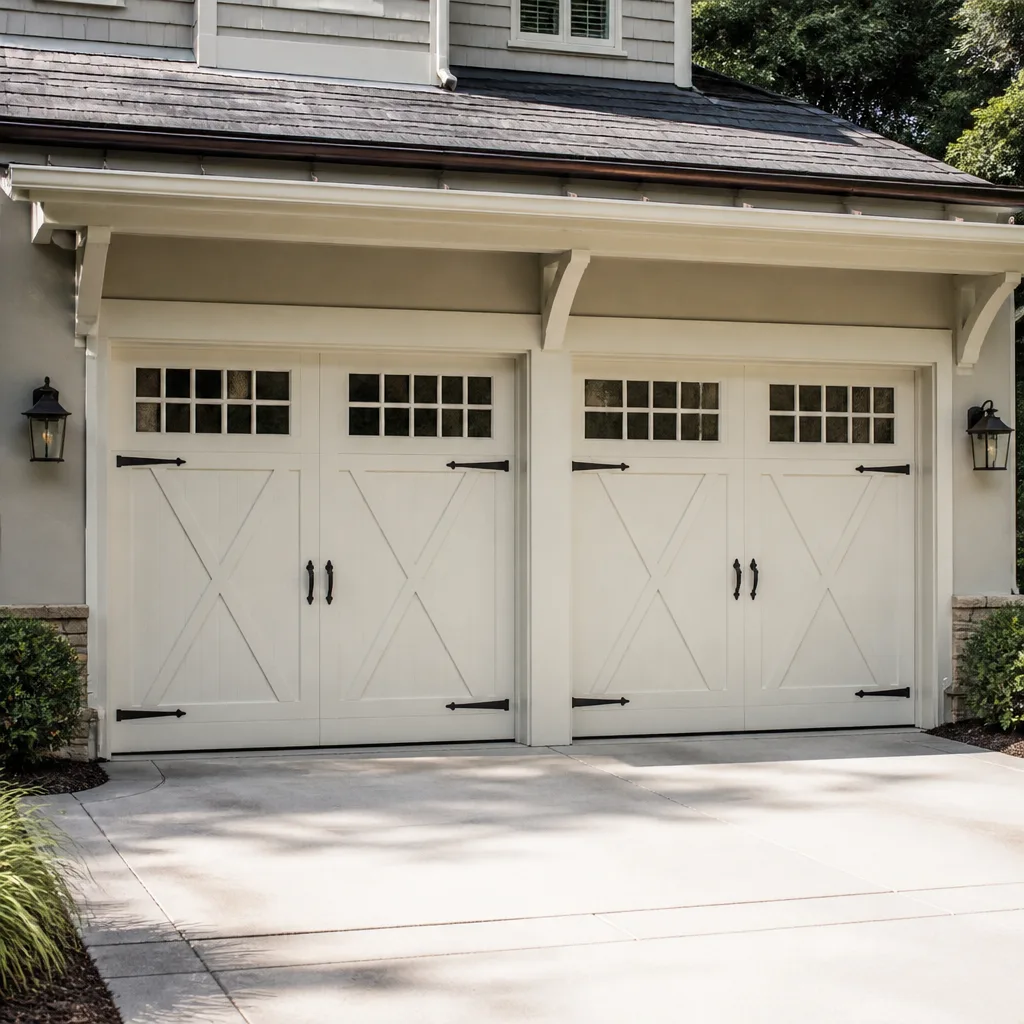 Carriage house
 Modern flush
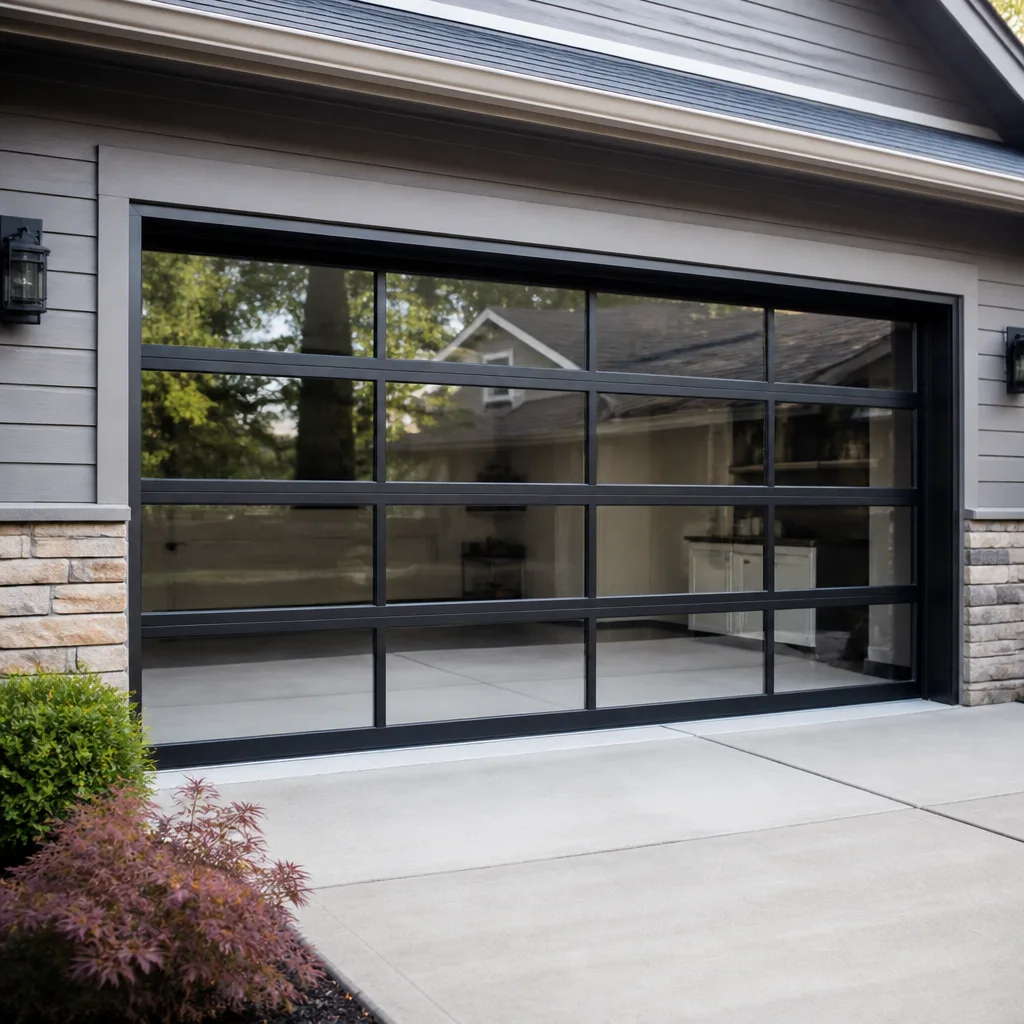 Full-view glass
 LiftMaster openers
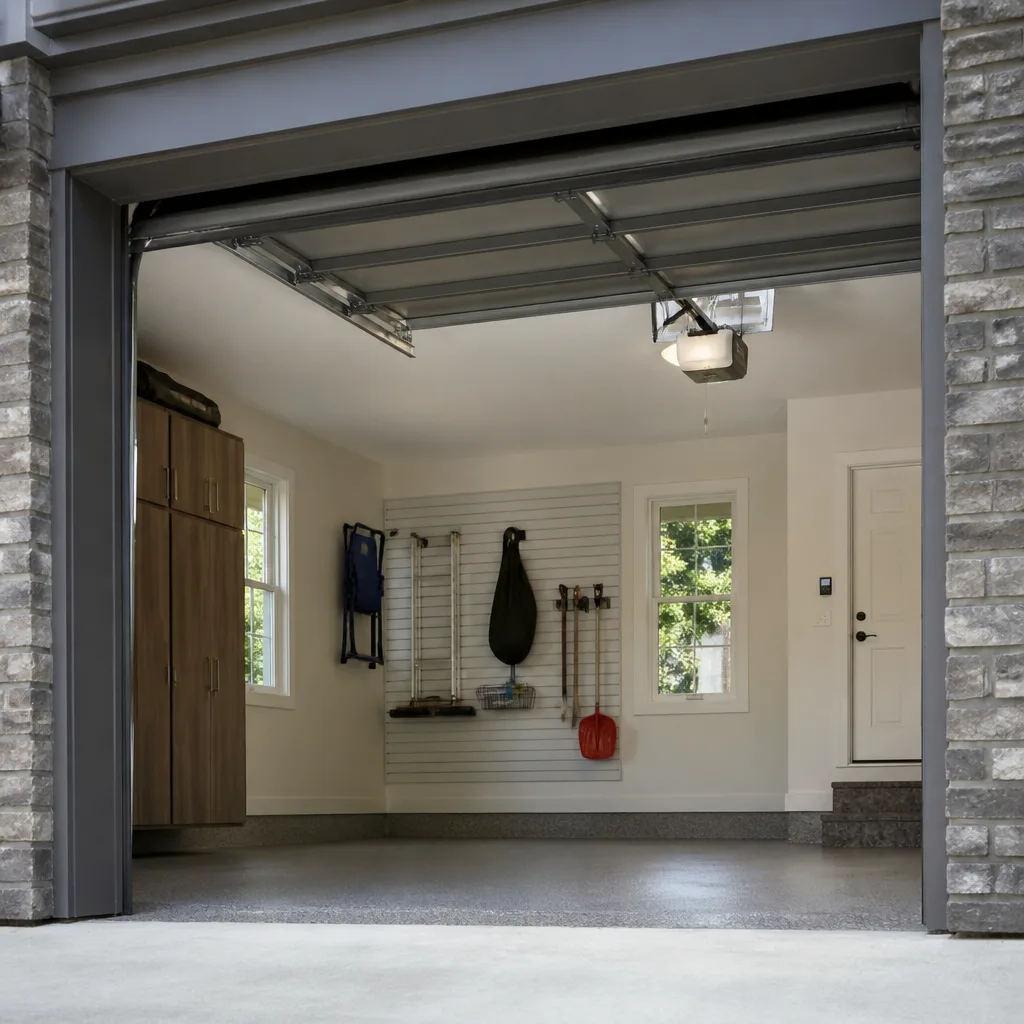 Chamberlain openers
Full 25-point door and opener safety check with every visit - springs, cables, rollers, tracks, and your LiftMaster or Chamberlain opener included
You get a price before we start. It does not change when the pro arrives.
Get your free estimateDIY vs Professional Garage Door: The Co-op City Homeowner’s Decision Guide
A torsion spring stores roughly 100 foot-pounds of torque under tension. That’s not a scare tactic – it’s a physics constraint, and it’s why replacing a bottom seal and replacing a spring belong in two completely different categories. Most garage door advice online treats every repair as one skill level, which is how homeowners end up hurt or paying twice. This guide draws a hard line: what you can safely do yourself in Co-op City, what needs a technician, and what should never be touched by anyone without training. You’ll leave knowing exactly where that line sits for your door.
Quick Answer
Any garage door task that involves the springs, cables, or the tension that holds the door’s weight is professional-only work, full stop. The tasks you can safely handle yourself are the ones that never touch that tension system – seals, lubrication, visual checks, remote and battery basics, and keeping the track clear. Everything else is worth calling a technician for, and in Co-op City that call is free to price. When in doubt, ask before you touch.
Styles & brands we work with
- Raised-panel steel
- Carriage house
- Modern flush
- Full-view glass
- LiftMaster openers
- Chamberlain openers
Table of Contents
- Why Garage Door Repair Isn’t One Skill Level
- The Tasks Homeowners Can Safely Do Themselves
- The Tasks That Require a Technician
- Never DIY Under Any Circumstance
- How DIY Attempts Affect Your Warranty
- The Real Cost of a Failed DIY Repair
- What Watching a Tutorial Misses
- How a Door’s Tension System Actually Works
Why Garage Door Repair Isn’t One Skill Level
Garage doors get talked about as if they’re one system. They’re really two: the door and its hardware on one side, and the opener and drive on the other. That split matters when you’re deciding what to do yourself, because the danger doesn’t live on the opener side at all. The opener is a motor pushing and pulling. The tension system is stored energy waiting to release. Understanding which side of the line a task sits on is the whole decision.
On the door side, you’ve got panels, hinges, rollers, tracks, bottom seals, weatherstripping, and the springs and cables that carry the door’s weight. LiftMaster, Chamberlain, Genie, and Craftsman live on the opener side. Clopay, Amarr, Wayne Dalton, and Raynor build the doors themselves. Knowing the brand changes the diagnostic, but the safety question stays the same: does this task touch stored tension? If yes, it’s professional work. If no, you may have a perfectly safe weekend project.
Here in Co-op City, most of the doors we see sit in large co-op buildings where the door serves as both a vehicle entrance and a barrier to the shared or private space behind it. That raises the stakes a little. A door stuck half-open isn’t only a mechanical problem in a dense residential community – it’s an open door on your belongings. The task list below is organized around that reality.
The Tasks Homeowners Can Safely Do Themselves
These jobs are genuinely within reach for a capable homeowner. None of them touch the springs or cables. Each takes 20 to 40 minutes with the right tools and a little care. If you enjoy doing them, do them – but do them right, because improvising on a garage door can turn a small job into a bigger one.
Bottom seal and weatherstripping replacement. Pull the old seal out of its track on the bottom edge, slide in the new one, trim to length. Seals wear out in a place like Co-op City where the door faces weather year-round, and a worn seal lets in cold air, water, and pests. Tools: a utility knife, a straight edge, and possibly a pair of pliers to grip a stubborn old seal.
Lubrication. A few drops of garage door lubricant on hinges, rollers, and the torsion bar bearings (without touching the spring itself) quiets a door and extends roller life. Tools: garage door lubricant and a rag. Never use standard grease or WD-40 on the tracks – it attracts grit.
Visual safety checks. Once a season, look at the springs for gaps or rust, the cables for fraying, the rollers for cracks, and the track for dents. You’re not fixing anything – you’re catching a problem before it fails.
Remote, keypad, and battery basics. Pairing a new remote, changing the opener’s light bulbs, and swapping batteries in a LiftMaster or Chamberlain remote are all safe and simple. Tools: a step stool and the opener’s manual for the pairing sequence.
Keeping the track clear. Clearing debris or a toy from the track with the door open and the opener unplugged is safe. Straightening a bent track is not – that’s a technician job, because a track out of true throws the whole door off balance.
The Tasks That Require a Technician
This list is where the safety calculus flips. These are the jobs we handle on a schedule, not in a hurry, because each involves adjusting or replacing a part that changes the door’s balance. Getting balance wrong on a 200-pound door is how people get hurt – not because they’re clumsy, but because the door’s weight is doing the work, and it doesn’t care who’s near it. If your door is one of the eight brands we’re familiar with – LiftMaster, Chamberlain, Genie, Clopay, Amarr, Wayne Dalton, Craftsman, or Raynor – we’ll bring the right parts for the brand you already have.
- Spring replacement or adjustment. Even a “small” adjustment is done on a wound spring. This is professional-only.
- Cable replacement. Cables hold the door’s weight under tension and can whip if released without care.
- Roller and hinge replacement. Technically simple, but only safe with the door fully down and the tension correctly maintained.
- Panel replacement. Heavy, awkward, and a damaged panel usually means the door’s been flexed, which can shift the balance.
- Track realignment. Requires setting the door’s travel so it doesn’t bind.
- Opener motor or drive system work. When the issue is on the garage door opener repair side, the wiring, drive, and force settings need to be checked together.
- Full door replacement. This is garage door installation work, and it’s measured and scheduled.
If you’re not sure which side of the line your task falls on, call and ask. We’ll tell you honestly whether it’s something you can handle or something we should.
Never DIY Under Any Circumstance
These are the tasks that have hurt people. There’s no skill level at which they become safe for a homeowner, because the danger isn’t in the technique – it’s in the energy stored in the part. High-tension torsion and extension springs are among the most dangerous components in a home, and cables under tension are close behind them. The proper tools (winding bars, a vice grip for cable control, the right spring type) exist for a reason.
- Torsion spring winding, unwinding, or replacement. A wound torsion spring stores enough force to break a wrist or worse. Skip it.
- Extension spring removal or replacement. Same hazard, different geometry. A failed extension spring can launch its parts.
- Cable cutting, tightening, or releasing. Cables carry the door’s weight. Releasing tension without control sends the cable whipping.
- Adjusting the opener’s force settings. Sounds minor. If the force is set too high, the door won’t reverse on contact – a serious safety hazard for anyone under it, especially children.
- Prying a door off the track with the opener engaged. Doing this wrongly does more damage than the original problem.
We’re not saying this to sell a service. We’re saying it because spring repair is a safety-critical service, not a routine fix, and it’s handled with proper tools and training. If a spring has snapped, treat it as an emergency call, not a project.
How DIY Attempts Affect Your Warranty
Opener manufacturers build warranty terms around the assumption that a trained installer or servicer handles the parts. When an amateur works on the door and the opener, the manufacturer can – and often does – deny a warranty claim, because the failure is treated as the result of unqualified service. That applies to opener brands like LiftMaster, Chamberlain, Genie, and Craftsman, and to door brands like Clopay, Amarr, Wayne Dalton, and Raynor. If your opener had a two-year parts warranty and the door’s tension was tampered with, you’re looking at paying for repairs you might otherwise have had covered.
Warranty aside, there’s a second cost: property damage. When a door fails because a spring was improperly adjusted, the repair typically involves the spring plus the door’s alignment, sometimes the panels, and sometimes the opener’s drive. That’s a bigger job than the one you started with.
None of this means you can’t do the safe tasks yourself. Lubrication won’t void a warranty. Swapping a remote battery won’t either. The line is tension work.
The Real Cost of a Failed DIY Repair
A technician call-out to fix an amateur job in the Co-op City area usually runs higher than the same repair done correctly the first time, and the gap comes from the extra diagnosis. When a homeowner has already replaced a part, the technician has to figure out what the original problem was, what the homeowner changed, and whether that made things worse. On top of that, a mis-adjusted spring can damage the door, which turns a spring repair into a larger repair.
Here’s roughly how a failed DIY attempt tends to snowball:
- Spring replaced by homeowner, door now out of balance. You’re now paying for a spring repair plus a full balance and travel adjustment.
- Opener force setting turned up to force a binding door. The opener operates but wears faster; sometimes the drive gear fails sooner.
- Door off track after a botched roller swap. Now you’re paying for track realignment and potentially panel work.
- Warranty denied. The whole repair comes out of pocket, even the part that a warranty would have covered.
All of this is why the written estimate before work starts matters so much. The price you agree to is the price you pay, and that applies whether you’re booking a diagnostic on a DIY attempt or a scheduled repair. Call (844) 741-4548 for an estimate.
What Watching a Tutorial Misses
A tutorial shows you the sequence of steps. It can’t show you what your specific door feels like under tension, and that’s the part that changes the safety calculus. Videos are filmed on one door, in one state of wear, with one set of conditions. Your door might have a winding cone that’s seized, a cable with a hidden fray near the drum, or a spring that’s already been replaced once with the wrong size by an earlier owner. Those details don’t appear in the comments.
What a trained technician brings that a video can’t:
- Feel. A technician can feel whether a spring is winding cleanly or binding, and stop before it fails.
- Diagnosis. A video tells you the likely cause. A technician tells you your cause, based on the door’s age, brand, wear pattern, and history.
- Torque awareness. That roughly 100 foot-pounds on a torsion spring isn’t a number on a screen – it’s a force in the bar as you wind it. Experienced hands know when to stop.
- Balance and safety checks after. Once work is done, the door has to be tested with the opener disengaged, force set correctly, and safety sensors confirmed. Videos rarely cover the post-check.
- Brand-specific parts. A door built by Clopay isn’t fitted with Amarr parts, and a LiftMaster opener’s drive is not a Chamberlain drive. Watching a tutorial that used a different brand can cost more than it saves.
Watching is a fine way to learn what a spring does. It’s a poor way to learn what your spring is doing right now.
How a Door’s Tension System Actually Works
Two systems lift a door: torsion and extension. A torsion spring sits above the door on a horizontal bar and stores torque as it winds. An extension spring runs alongside the tracks and stores tension as it stretches. Either system, at rest, is holding hundreds of pounds of door weight in balance. When the spring fails, that weight is suddenly unsupported, and the door can drop or become too heavy to lift by hand. That’s the physics that makes tension work professional-only.
What a homeowner should check, not fix:
- Look at the spring. A clean coil is normal. A visible gap, rust at the coil, or a spring hanging loose means stop and call.
- Test the door by hand, with the opener disengaged (per the door’s manual). If it won’t stay roughly halfway up without help, the balance is off.
- Listen. Grinding or popping during operation points to a worn roller, hinge, or bearing.
- Watch the cables. Any fray or slack cable means stop using the door.
- Confirm the safety sensors at the bottom of the track. If the door won’t reverse when something passes through the beam, that’s a safety issue, not a convenience one.
If any of those checks fail, the right move in Co-op City is a call, not a tool. For the full range of what we handle, see garage door repair.
Common Mistakes to Avoid
- Assuming a spring is “just one part.” A torsion and extension spring distribute weight differently across the door, and a spring sized for one door will not fit another. Always have the brand and door type confirmed before ordering parts.
- Using the opener to lift a door you know is binding. Forcing a heavy door wears the drive gear and can damage the opener’s logic board. If the door is binding, stop using it.
- Prying a door back onto track. In a Co-op City co-op building, this can damage the frame around the door opening, not just the door. A bent track and a bent door frame are a bigger repair than the original problem.
- Adjusting the opener’s force setting upward to hide a problem. The force setting is a safety device. Raising it to force a binding door is exactly backwards – fix the door, not the safety setting.
- Assuming a warranty covers a DIY job. Opener warranties are written for professional service. Amateur work can void a claim even if the failure was unrelated.
- Buying parts by price alone. A roller that costs a little less than the correct brand roller can crack within a season. Buy the part matched to your door’s brand.
- Putting off a snapped spring. A door with a broken spring can’t be safely opened by hand, and a door that’s stuck open is a security problem. Treat it as urgent.
See the difference
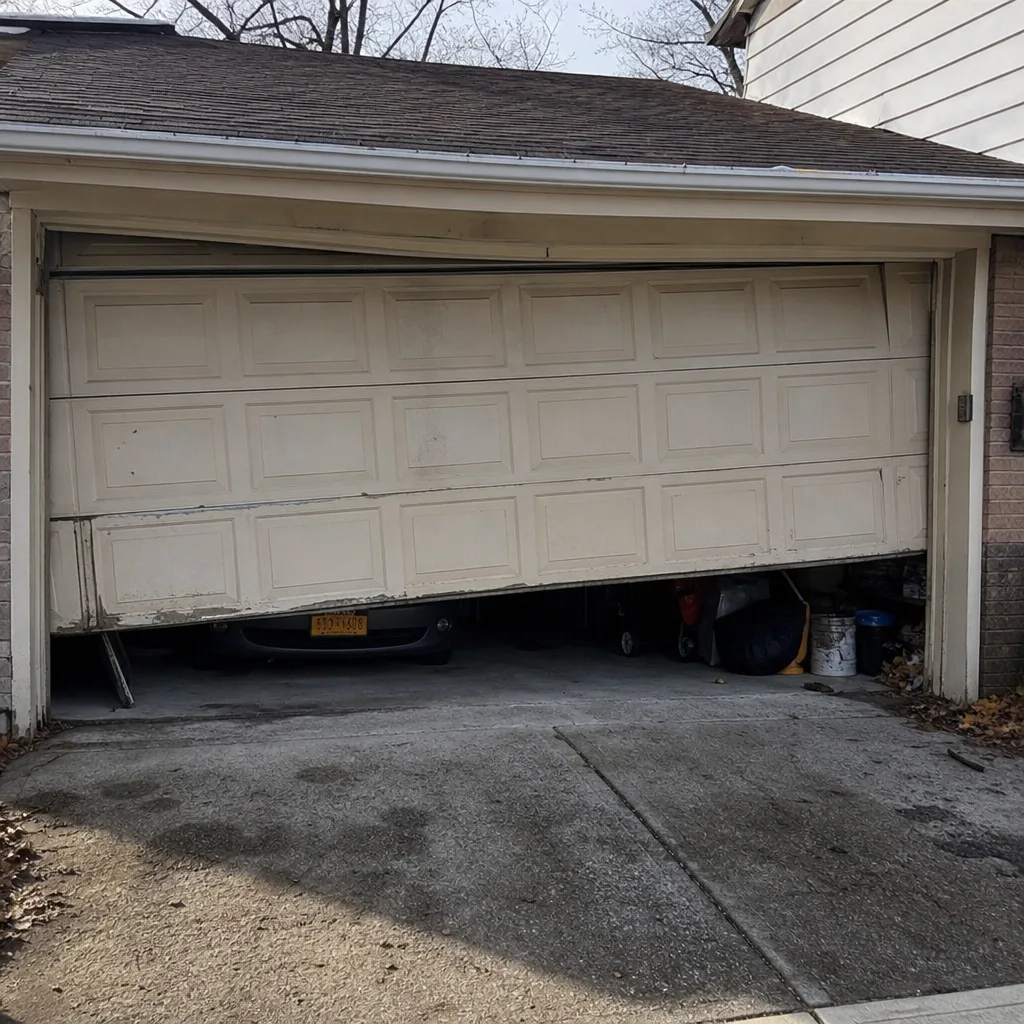 Before
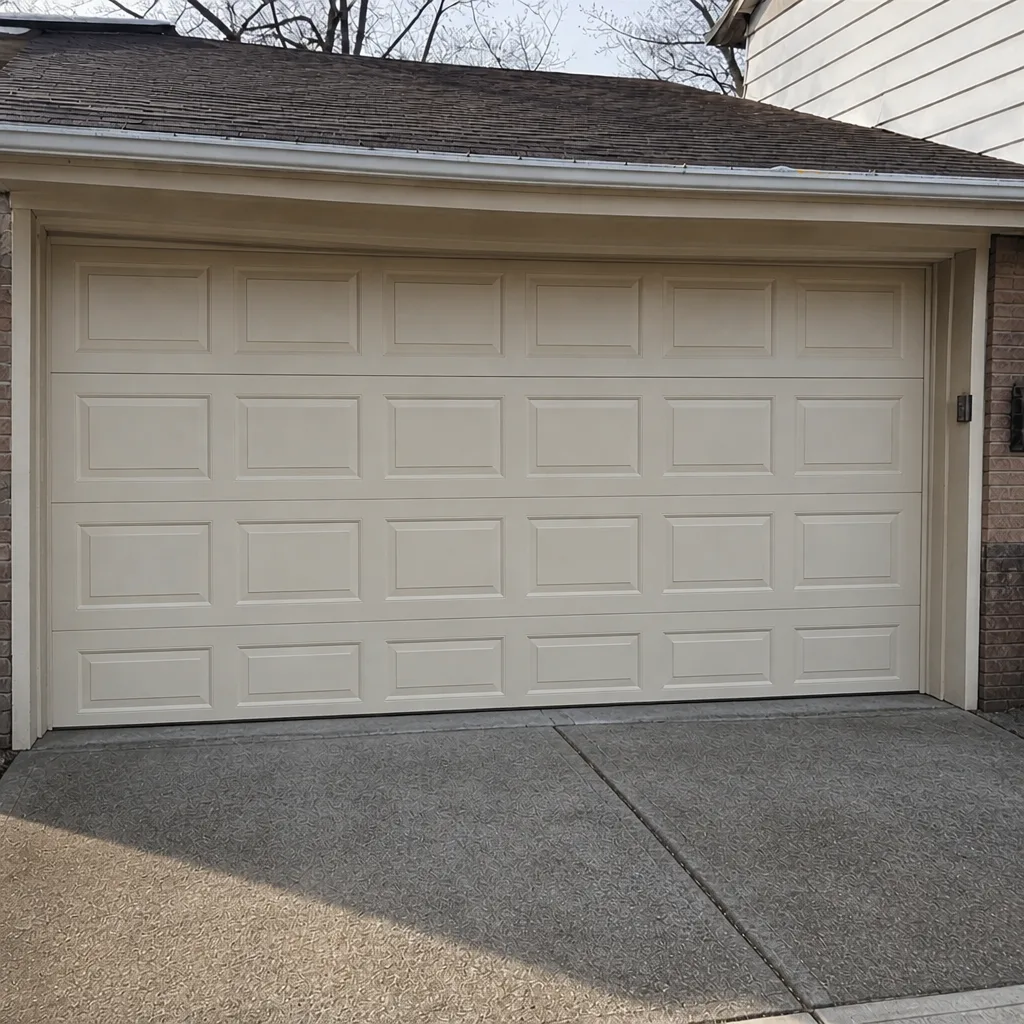 After
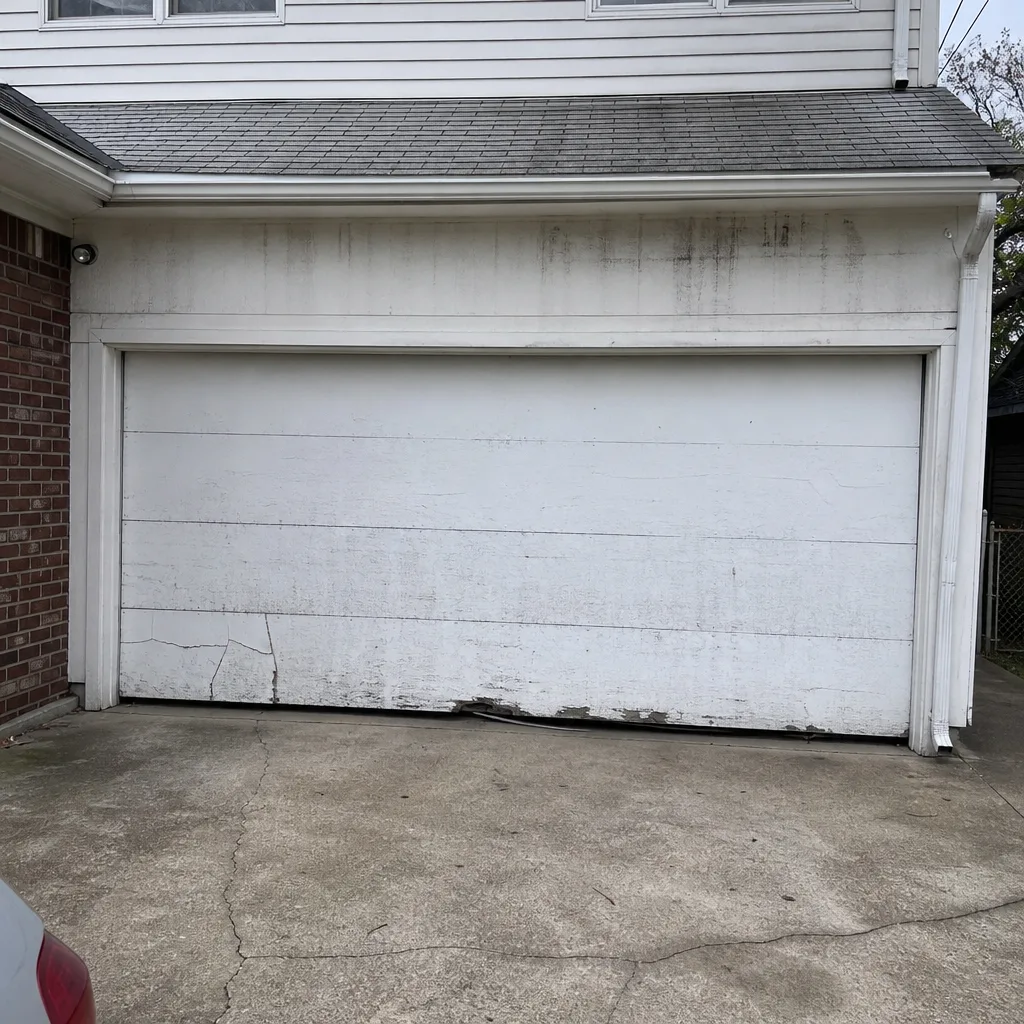 Before
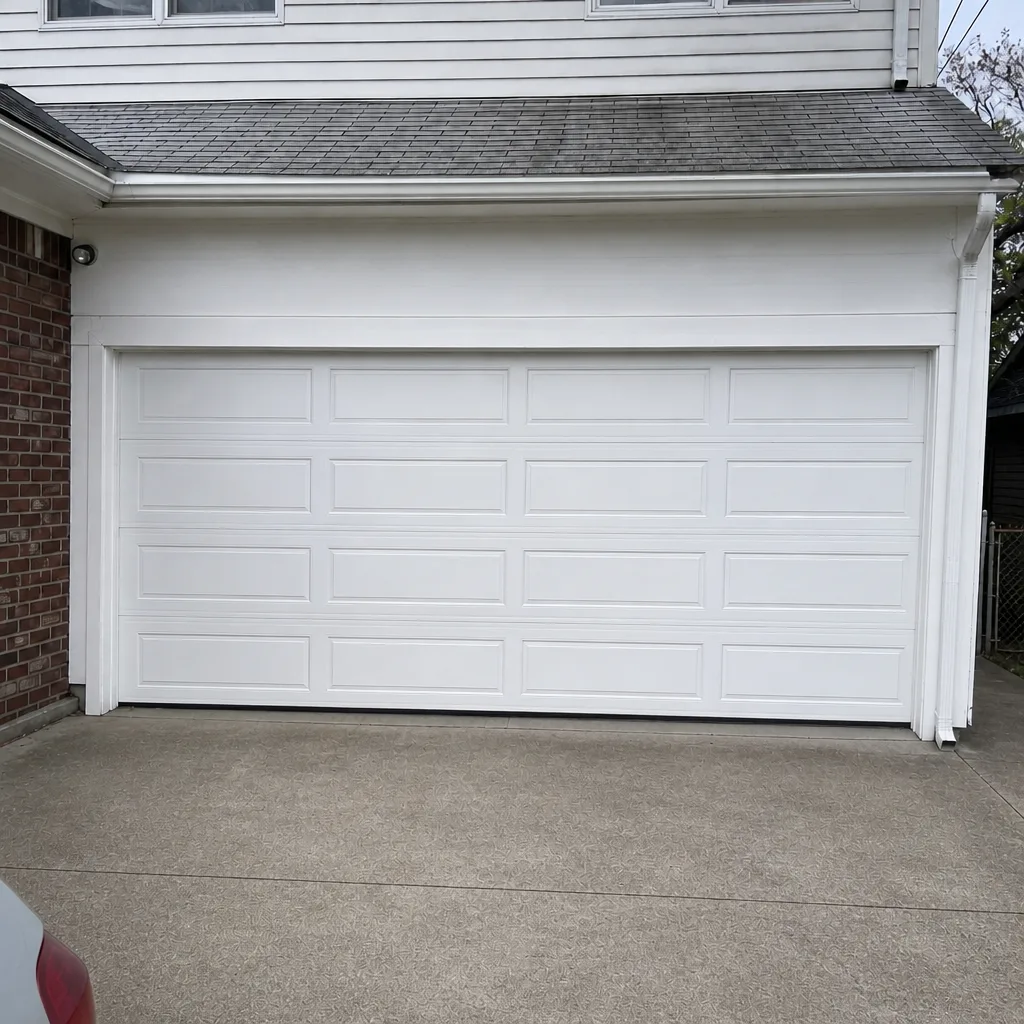 After
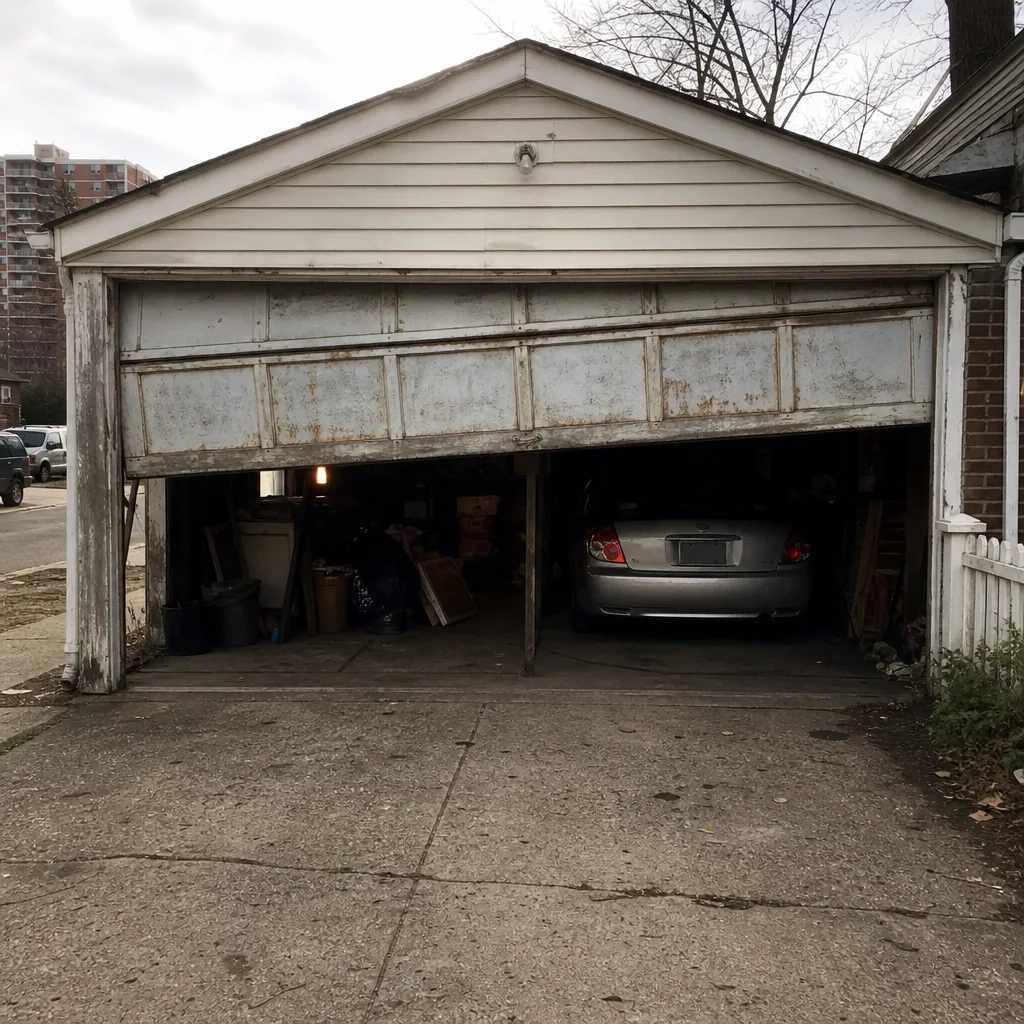 Before
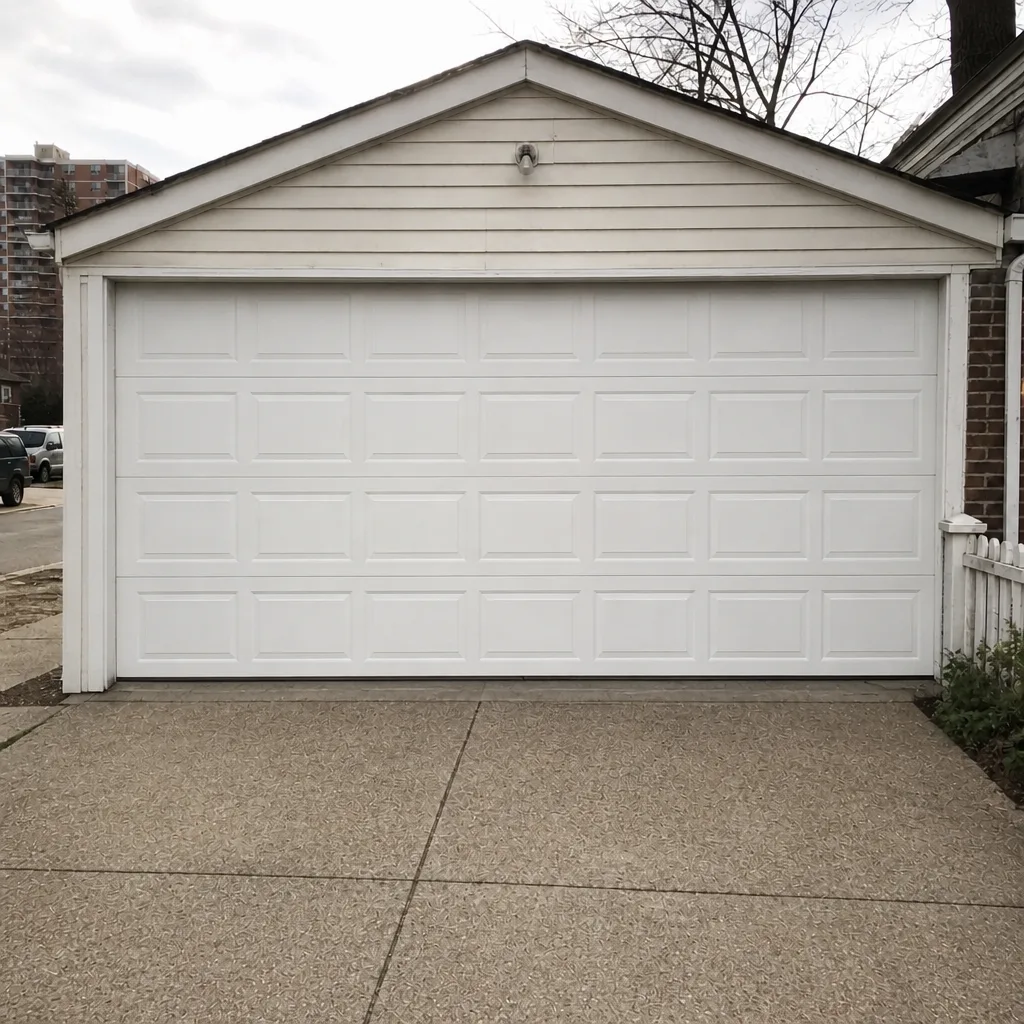 After
When to Call a Professional
Call a professional any time your door involves a spring, a cable, or a track that’s visibly out of line. Call immediately if the door has dropped, if the opener runs but the door doesn’t move, if a cable is visibly slack or frayed, or if the door reverses correctly on the sensor test but feels heavy when you lift it by hand. On the opener side, call if the motor grinds, the door reverses without an obstruction, or a brand-specific diagnostic (LiftMaster, Chamberlain, Genie, Cortland, Craftsman) would help. Garage Door Repair Co-op City offers free estimates in Co-op City – call (844) 741-4548. Our technicians have up to 10 years of experience, and we handle both the door’s hardware and the opener side, so one call covers the full job.
Frequently Asked Questions
No. A torsion or extension spring stores enough force to cause serious injury, and a homeowner with no training and no proper winding tools shouldn’t attempt it. Spring replacement is professional work, and it’s best treated as a safety-critical service. Call (844) 741-4548 for a free estimate – we’ll quote it before any work starts.
Bottom seals, weatherstripping, lubrication, remote battery swaps, and visual safety checks are all within reach for most homeowners. Anything that touches the springs, cables, or the door’s balance is not. If you’re not sure, call and we’ll tell you honestly.
It can. LiftMaster, Chamberlain, Genie, and Craftsman all write their warranty terms around professional service, and unqualified work can void a claim even when the failure seems unrelated. Call us before you start rather than after – (844) 741-4548.
It depends on the damage, so the honest answer is that a call-out to fix an amateur job in Co-op City typically includes a diagnostic on top of the repair, and that’s where the extra cost comes from. We’ll give you a written estimate for the repair before any work starts, so you know the price up front. Call (844) 741-4548 for a free estimate.
If the door is stuck open or entirely down and can’t be opened safely, treat it as a security problem and call for emergency service. We handle time-sensitive failures that compromise home security. Call (844) 741-4548 and we’ll book the next available appointment.
Yes. A Clopay door is built for Clopay parts, and a LiftMaster opener’s drive system differs from a Chamberlain or Genie drive. Buying the wrong brand part is one of the most common DIY mistakes, and it often costs more than the repair. We work on the brand you already have – so the call is worth making before you order.
The Bottom Line
The DIY vs. professional question isn’t about how capable you are. It’s about which tasks carry stored energy you can’t see. Seals, lubrication, visual checks, and remote basics are safe and worth doing yourself. Springs, cables, and balance adjustments are professional work, no exceptions, and calling us for those is faster and cheaper than a failed attempt. In Co-op City, that call is free to price. If you’re on the fence, pick up the phone and ask – we’d rather tell you “that’s a DIY job” than have you start a repair that needs a technician. For the full range of what we handle, start with Garage Door Repair Co-op City.
Call (844) 741-4548 for a free estimate. We’ll give you the price before any work starts.
Written by the team at Garage Door Repair Co-op City.